Showing posts with label organic. Show all posts

Friday, July 23, 2010

Farmer's Market Finds

purslane, zuchinni, green-red cherry tomatos from the farmer's market
What they say about Farmer's Markets is all true. Great fresh options with a good chance of being organic. And more variety than in your average grocery store. I saw at least 4 kinds of cherry tomatos yesterday. And purslane! I haven't found purslane in the yard this year, so I was excited to see a big bunch for a dollar.
The local farmers are bringing a lot of Asian veggies I don't yet know. I love buying something new, and with a few tips from the farmer, experimenting in the kitchen. Last year I discovered rutabaga - love them! And sometimes you get a surprise... The honeydew I bought appears to be an orange fleshed honeydew. I love honeydew, but not a big fan of cantalope, but I think I like this hybrid.
Then there's the olive guy... during part of the year he has olives cured with just salt. Right now his selections have vinegar, but we try not to hold it against him. The little one loves olives, so we buy a lot. The lemon peel stuffed olives were interesting. This time I bought Greek dried Kalamata olives. Very salty, but yum! I'm not too sure what to do with them yet, but they were nice chopped up and steeped in olive oil for an easy salad dressing.
Orange honeydew, dried olives and corn from the farmer's market

Saturday, April 17, 2010

Kitchen Garden: Growing Avocado Seeds

Many years ago, when I was a college student dreaming of my future garden, I found a book that described growing food from seeds and leftovers from purchased food. The idea stuck with me and I have successfully grown potatoes and garlic from sprouted food in my kitchen.
Now I'm trying out avocados. We eat about one avocado per day when they are in season, so growing our own would definitely be a bonus. I never liked the idea of impaling an avocado seed with toothpicks and after some googling I learned that A) avocadoes can grow in my area, B) you can grow avocados by putting the seeds directly in dirt, and C) you can grow avocados in water without impaling them.
My first attempt was a seed in a Medela freezeable breastmilk container (imagine a tall plastic beaker). Oops, the seed expanded and got stuck halfway in the beaker, no way to add water, no way to remove the seed without harming it.
Then I spotted all these wonderful small shotglasses and medicine cups sitting around the kitchen. The ideal situation appears to be a cup with V shaped depression, so the seed sits halfway down the glass, supported by the sides. Keep water approximately halfway up the seed. Add water, when air appears below the seed. Some sources say to plant in dirt when leaves sprout. But to avoid seriously messing up the roots, I'll try to plant before the roots look as scrunched as the far right has.


Unfortunately, I don't know which varieties I have growing... but it will be fun to see how many little trees I can start. We've found at least four varieties at our local farmer's market, including a tiny version (they are called "Mexican" something) with edible skins. Somehow I managed not to save a seed from those. I will definitely do that this year. Those tiny ones are so darn yummy. The far left and far right seeds look the same to me, but they are sprouting in reverse of each other. The left one barely has any roots at all, while the right clearly had more roots before sprouting up.
Unfortunately, avocados don't bear fruit until their 4th or even 10th year, so we may have left this home by that time, but I can hope to see fruit before we go.
Have you had success growing food from your kitchen?

Wednesday, March 31, 2010

In the Garden

Technically this is the backyard... but "In the Garden" just sounds so much prettier.
Anyway, some good news and some bad...
Good:
My irises have come up. I love the color lavender, and since lavender/purple is a darn difficult color to find in plants and flowers, I have expanded my love to blue. Note the lovely blue rosemary in the background. Ignore the date on the photo (the camera doesn't seem to know what "no date/time" means, ugh).
I love perennials that have the audacity to naturalize and thrive in my 'garden'.


Bad:
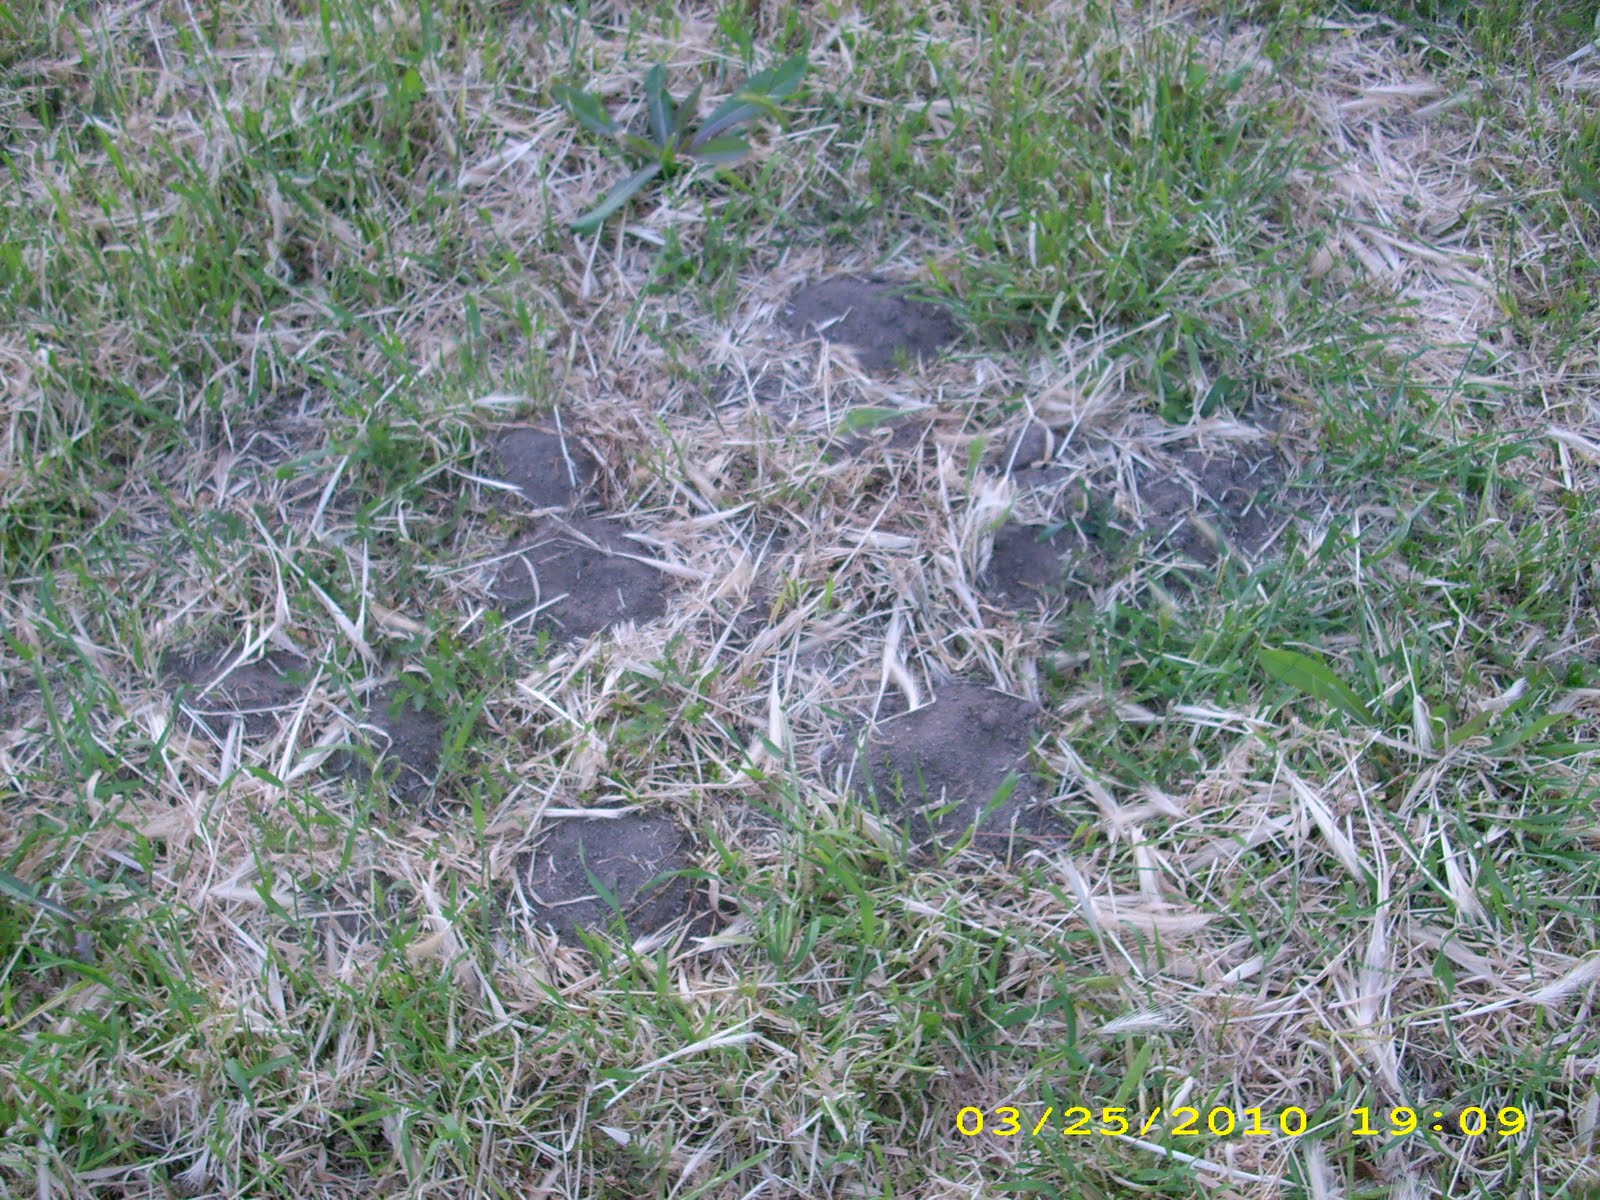
The mole/vole/gopher/stinking varmint fight continues. I suppose if we had a smaller yard, this wouldn't be a problem. But when you have 1/3 of an acre, the dratted animal can just move to another part of the yard. These seven piles showed up two days after we thoroughly watered the holes about 15 feet from this spot...

Monday, January 4, 2010

There's Something About Rosemary

Rosemary Steeping in Vinegar
I love how easy it is to grow rosemary here, in the central valley. We have four bushes, the three in full sun are about 5 feet tall and 5 to 8 feet wide now. I love that it is evergreen and makes the yard look like perhaps I know what I'm doing.
We use rosemary to season meat and potatos. And I can usually get freecycle takers when I offer up clippings from the branches that grow in the wrong direction (over my patio).
I love the idea of being self-sufficient and growing herbs to use. So, I was thrilled to find another use for this wonderful herb... hair rinse. I've been trying to go 'poo free for a few years now. I made the leap for a few months, then felt guilty about the unfinished bottles of 'poo & conditioner, so switched back. Well, the Aubrey Organics products are all used up, and I ordered shampoo bars (from Chagrin Valley) - love them. And now I get to make my own hair rinse to help rinse out the hard water. I use Chagrin Valley's Vinegar Hair Rinse Recipe #2...
I have my shampoo bar and two sports water bottles in the shower:
  • rosemary vinegar with filtered water
  • filtered water to rinse out the rinse
When the house is cold I keep the bottles at my feet during the shower, to warm up the water a little before pouring it on my head. Some people use vinegar rinse rarely, like once a week or less, I use it after every hair wash.

Wednesday, October 7, 2009

Raised Veggie Bed Part II


One raised bed is made. It look a few extra trips to Home Depot for silly things like extra screws and clamps. But it looks very nice... and huge. That thing is going to require a lot of soil.
We ended up with redwood, cedar was only available as fencing.
We'll put this one in the ground and make raised bed number two when we feel confident about number one.
Also decided to mostly use purchased soil with this one... so I can plant earlier and we can wait to buy straw after Halloween, when bales will probably be free/cheap. I still plan to use cardboard and grass clippings that we got from a freecycler, on the bottom. And I'll sneak in compostable kitchen items.
I'm crossing my fingers very tightly that the dog doesn't decide to dig in my new bed. She has a fondness for burying her rawhides in flowerpots. The raised bed will probably look like a lovely giant sized flowerpot.

Sunday, October 4, 2009

Raised Veggie Bed

I skimmed Lasagna Gardening years ago, before having a yard. So I had the concept and a feeling that determining and finding the ingredients would be tough. But I always wanted to grow my own veggies and fruit trees. The frugal bug was also always there, but organic didn't occur to me until later in life (ugh, that makes me sound old, I'm pretty sure I'm not). I recently borrowed my LLL leader's copy of Lasagna Gardening to brush up on the details, but I never got around to reading it. I finally returned it after 3 months. Happily, there's an abundance of information on the web. Googling "raised garden beds", "no dig gardens" and "lasagna gardening" got me all the information I need.

We're finally getting ready to build a raised veggie bed.
Following Sunset magazine's directions. With a few adaptions from this blog.

We're aiming for organic, so cedar wood (ouch!) and probably lasagna style greens and browns for the soil.

So far, we're getting free cardboard and grass clippings from a friendly freecycler. The rest will come from Lowes, Home Depot or OSH. Now for the price comparisons to begin...